
Start With Where the Leaf Sits
The first useful question is not what color the leaf is. It is where on the plant the color changed. Plants move some nutrients freely through the phloem and cannot move others once those nutrients are built into tissue. When supply runs short, a mobile element is pulled out of older leaves and shipped to the growing tips, so the oldest foliage fades first. An immobile element stays where it was deposited, so a shortage shows up in new growth while the lower plant still looks healthy. That single split cuts the candidate list roughly in half before you look at a single leaf close up.
The mobility rules below come from the Ontario hemp nutrient guide and Utah State University extension material, and they apply to cannabis because they describe element transport in broadleaf plants rather than a brand-specific feeding program.
| Element | Mobility | Where yellowing appears first | Pattern to look for |
|---|---|---|---|
| Nitrogen (N) | Mobile | Oldest, lowest fan leaves | Uniform pale green to yellow, starting at the leaf tip and moving inward |
| Phosphorus (P) | Mobile | Older leaves and stems | Dull dark green, then bronze or purple blotching, downward curl |
| Potassium (K) | Mobile | Older leaves, margins first | Yellow then brown along the leaf edge, the saw-tooth serrations go first |
| Magnesium (Mg) | Mobile | Older leaves, middle of the plant upward | Yellow between the veins while the veins stay green |
| Calcium (Ca) | Immobile | Newest leaves and growing tips | Pale new growth, brown spots, curled or distorted margins |
| Sulfur (S) | Immobile | Young leaves | Even pale yellow across the whole new leaf, no interveinal pattern |
| Iron (Fe) | Immobile | Newest leaves | Bright yellow between green veins, leaf size still normal |
| Manganese (Mn) | Immobile | Newest leaves | Interveinal yellow with tan or brown dead spots inside the yellow |
| Boron (B) | Immobile | Growing tips | Tip dies back, new leaves brittle or twisted |
Two pairs cause most of the misdiagnosis. Magnesium and iron both produce yellow tissue between green veins, and growers routinely treat one as the other. Location settles it: magnesium starts low and moves up, iron starts at the top and never touches the lower plant. Nitrogen and sulfur both produce a fairly uniform pale leaf, and the split is again location. Sulfur also tends to keep the leaf shape normal while the whole new shoot looks washed out, whereas nitrogen leaves are soft and limp before they yellow.
There is a third pattern that matters more than any single element. When a plant shows three or four deficiency signatures at once, on both old and new growth, the problem is rarely three separate nutrients. A mixed pattern points to the root zone or to pH, because those are the conditions that make several elements unavailable at the same time. That is why the measurement section comes before the feeding section in this guide.
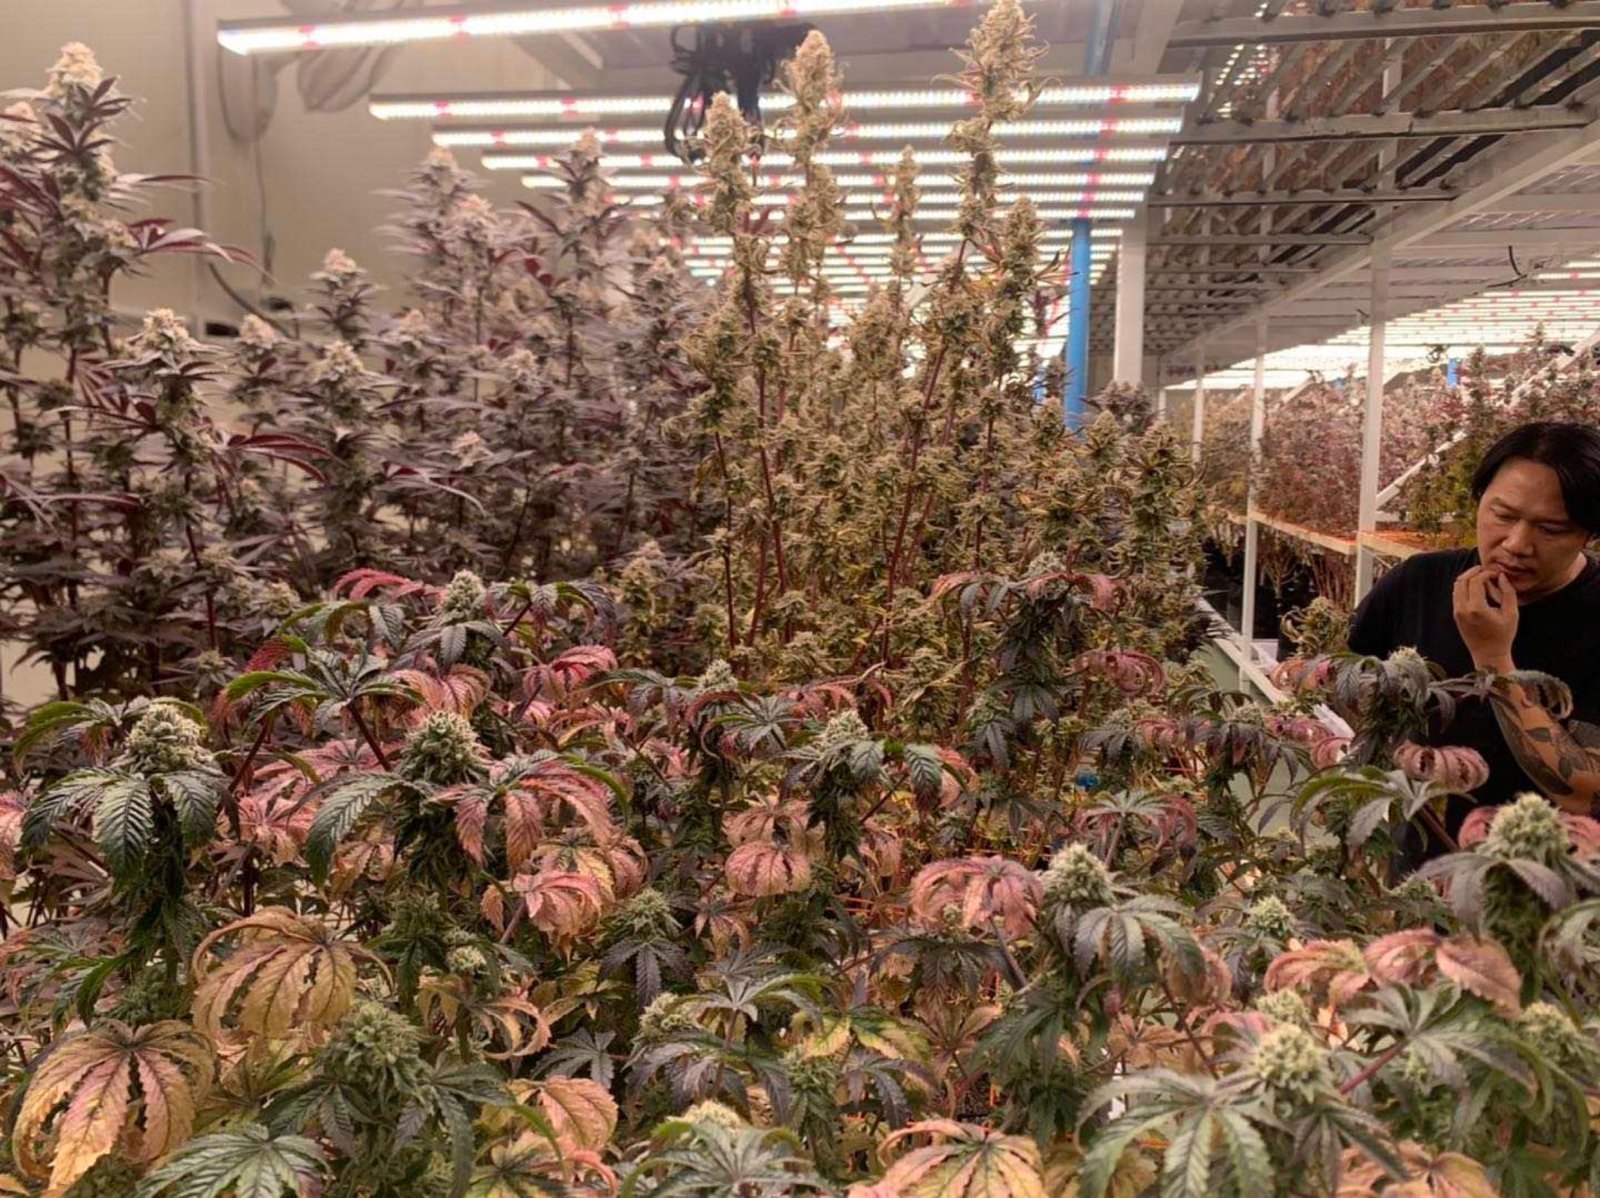
Read the position first and the pattern second. A mixed pattern skips the element branches and goes straight to the root zone
The Causes That Account for Most Yellow Leaves
In commercial rooms and home gardens alike, the same handful of conditions produce almost all of the yellowing that gets reported as a mystery. Each has a signature that can be confirmed with one measurement, which is what separates a diagnosis from a guess.
| Cause | Signature | Confirming measurement | What actually fixes it |
|---|---|---|---|
| Nitrogen shortage | Uniform pale yellow from the bottom up, soft leaves, slow stretch | Low runoff EC, feed strength below the stage target | Raise nitrogen modestly and keep the rest of the ratio balanced |
| Magnesium shortage | Interveinal yellow on older leaves, veins green, edges may dry | Low Mg in feed, soft or RO water, high potassium load | Add magnesium and correct the K to Ca to Mg balance |
| Potassium shortage | Marginal scorch on older leaves, weak stems, slow flower fill | High salinity, low K in feed, cold root zone | Leach excess salts, then restore K at the right ratio |
| pH lockout | Mixed deficiencies at once, several patterns on one plant | Runoff or slurry pH outside the substrate window | Reset pH, do not add more nutrients |
| Root hypoxia or root rot | Lower leaves yellow and droop, media stays wet, growth stalls | Substrate temperature and moisture, root color and smell | Dry-back, drainage, oxygen, and a root health check |
| Light starvation at depth | Yellowing only in the lower and interior canopy, top healthy | PPFD measured at the height of the affected leaves | Light distribution, density, defoliation, or inter-canopy light |
| Normal senescence | Slow bottom-up fade in the last two to three weeks, buds swelling | Calendar and trichome stage, not a nutrient reading | Nothing. Let the plant finish |
The list is ordered by how often growers reach for a bottle, not by how often each cause is real. pH lockout and root-zone problems together account for a large share of what gets called a deficiency, and both get worse when the response is a stronger feed. A plant sitting in substrate at pH 5.2 with plenty of iron in solution will show iron chlorosis on new growth no matter how much chelated iron goes into the tank.
Nitrogen shortage deserves one clarification because it is the most over-diagnosed item on the list. A genuine nitrogen shortage appears when the feed is genuinely weak, when runoff EC has fallen for several irrigations, or when heavy irrigation has leached mobile nitrate out of a light substrate. In a room feeding at a stable EC, a yellow lower leaf is far more likely to be shade, waterlogging, or the beginning of the late-flower fade than a nitrogen shortage.
Magnesium is the shortage that is most often real in coco and in rooms running reverse osmosis water, because both remove or bind the element before the plant sees it. The signature is precise: yellow between the veins on older leaves, veins staying green, and in advanced cases rusty flecks along the margin. Magnesium also loses the competition when potassium runs high, which is why a plant can show magnesium symptoms while the feed label says magnesium is included. Correcting the ratio matters as much as adding the element, and the usual working target is a potassium to calcium to magnesium ratio near 4 to 2 to 1 in solution.
Potassium behaves differently from both. It shows at the leaf edge rather than between the veins, starting on the saw-tooth serrations of older leaflets, and it declares itself slowly. Symptoms often appear weeks after the shortage began, which means the correction has to be patient. High salinity and cold roots both suppress potassium uptake, so a plant that has been fed heavily and is showing scorched margins is more likely suffering from excess than from absence. Leaching the substrate and restoring a balanced feed does more than adding a potassium booster on top of an already salty root zone.
pH and EC: The Numbers That Settle the Argument
Nutrients do not disappear when pH drifts. They become chemically unavailable, which is why a plant can starve in a full reservoir. The windows below are the working ranges for cannabis: soil and peat mixes run 6.0 to 6.8, coco and hydroponic solutions run 5.5 to 6.3. Within those windows individual elements peak at different points, and iron is the one that punishes a high reading fastest.
| Reading | What it tells you | Action |
|---|---|---|
| pH below 5.5 in coco or hydro | Calcium and magnesium uptake falls, manganese and iron become more available than needed | Raise pH into 5.8 to 6.1 with pH-up, recheck runoff the same day |
| pH above 6.5 in soil | Iron, manganese, zinc and boron availability drops; new growth pales first | Bring pH back toward 6.3, and check the chelate type in the feed |
| Low EC with deficiency symptoms | Genuine hunger, or over-irrigation leaching mobile nutrients | Increase feed strength gradually and check irrigation volume |
| High EC with deficiency symptoms | Salinity lockout: water is harder for roots to take up, and potassium, calcium and magnesium compete | Leach with pH-corrected water, then resume at a lower EC |
| pH in range, EC in range, symptoms continue | The problem is not in the bottle: check root temperature, oxygen, and light at that height | Move to the root-zone and canopy checks |
Measure the root zone rather than the input. A feed at pH 6.0 tells you what went in, not what the roots are sitting in. In soil and peat, a slurry test gives the most stable reading: take substrate from the root zone, mix it with distilled water at roughly one part substrate to two parts water, stir, and measure after it settles. In coco and hydro, capture runoff from a normal irrigation and measure that, discarding the first hundred milliliters because it reflects the lines rather than the pot. Log the number against the input so a drift shows up before the leaves do.
Iron is worth a paragraph of its own because it is the element most often dosed when the real problem is pH. Iron availability falls sharply above roughly pH 6.5 in soil and 6.3 in solution. The chelate matters too: EDTA-iron holds up to about pH 6.0, while DTPA-iron stays available closer to pH 7.0. A grower running a high-pH source water with an EDTA chelate can add iron every week and still see yellow new growth, because the iron precipitates before the root can take it. Fix the pH or change the chelate, and the same bottle starts working.
Water alkalinity is the reason pH keeps climbing between irrigations, and it is not the same number as pH. Alkalinity measures the bicarbonate and carbonate in the water, which neutralize acid and push the substrate pH up over time. Two sources both reading pH 7.4 can behave very differently: one with low alkalinity will settle into the feed pH within a day, and one with high alkalinity will drag the root zone upward all week no matter how carefully the tank is adjusted. If runoff pH rises steadily across a week while input pH is stable, alkalinity is the first suspect, and the fix is acid injection or a different water source rather than more pH-down in the tank.
EC drifts for a related reason. As the substrate dries between irrigations, the concentration of dissolved salts rises, and a reading taken just before the next irrigation can be much higher than one taken right after. Compare like with like: sample runoff from the same point in the irrigation cycle each time, and write down the input EC beside it. A runoff EC that is far above the input suggests salt accumulation, while a runoff far below the input suggests the plant is taking up more than is being supplied or that irrigation is pushing feed straight through the pot.
Root Zone Temperature and Oxygen
Uptake is not passive. Roots burn sugars to power the ion pumps that move nitrate, phosphate, and magnesium across the root membrane, and that respiration is temperature dependent. The working range for cannabis substrate is roughly 20 to 24 °C. Below about 18 °C, phosphorus, magnesium and iron uptake drop noticeably even when the solution is complete and the pH is correct. That is why a plant in a cold basement, or in a pot sitting on a concrete slab, can look phosphorus or magnesium deficient while the feed sheet says otherwise.
This is one place where the honest evidence is thinner than the advice implies. The 20 to 24 °C figure comes mainly from greenhouse stock-plant work and from general plant nutrition, where cold-soil phosphorus deficiency is well documented in young maize. Cannabis-specific temperature trials are still scarce. Treat the range as a target to stay inside, not as a threshold that explains every symptom.
Oxygen is the other half of the root-zone story, and it is the one that gets missed because it looks exactly like a deficiency. When media stays saturated, root respiration falls and active ion uptake stalls. The plant shows lower-leaf yellowing, drooping, and slow growth while pH and EC read perfectly normal, because the nutrients are present and the roots cannot power the transport. The usual response, feeding harder, adds osmotic stress to roots that are already short of oxygen and makes the yellowing spread faster.
Three checks separate hypoxia from hunger. Push a probe into the substrate and read temperature, not the room. Lift the pot or open a slab and look at root color: healthy roots are white to cream with fresh tips, while drowned roots are brown, limp, and sometimes sour-smelling. Then check the irrigation interval against the substrate: if the media is still heavy when the next event is due, the problem is the schedule, not the feed. Root rot follows the same pathway, and by the time the canopy shows it, the root mass has usually been compromised for a week or more.
Once root rot is established, the response is not a stronger feed. Pathogens such as Pythium move fastest in warm, saturated media with little oxygen, so the first moves are to reduce the irrigation volume, increase the dry-back, improve drainage and runoff, and bring the substrate temperature back toward the working range. A root drench with a registered product may be appropriate depending on the system and the local label, but it works only after the environment stops favoring the pathogen. Feeding a plant with rotten roots adds salts it cannot take up and accelerates the decline.
The same logic applies at the design stage. Beds that sit directly on a cold slab, pots without drainage holes, and irrigation schedules copied from a different substrate all produce root-zone yellowing that no nutrient program can fix. A five-dollar probe in the substrate prevents more yellow leaves than a shelf of supplements.
The Cause Nobody Measures: Light at the Bottom of the Canopy
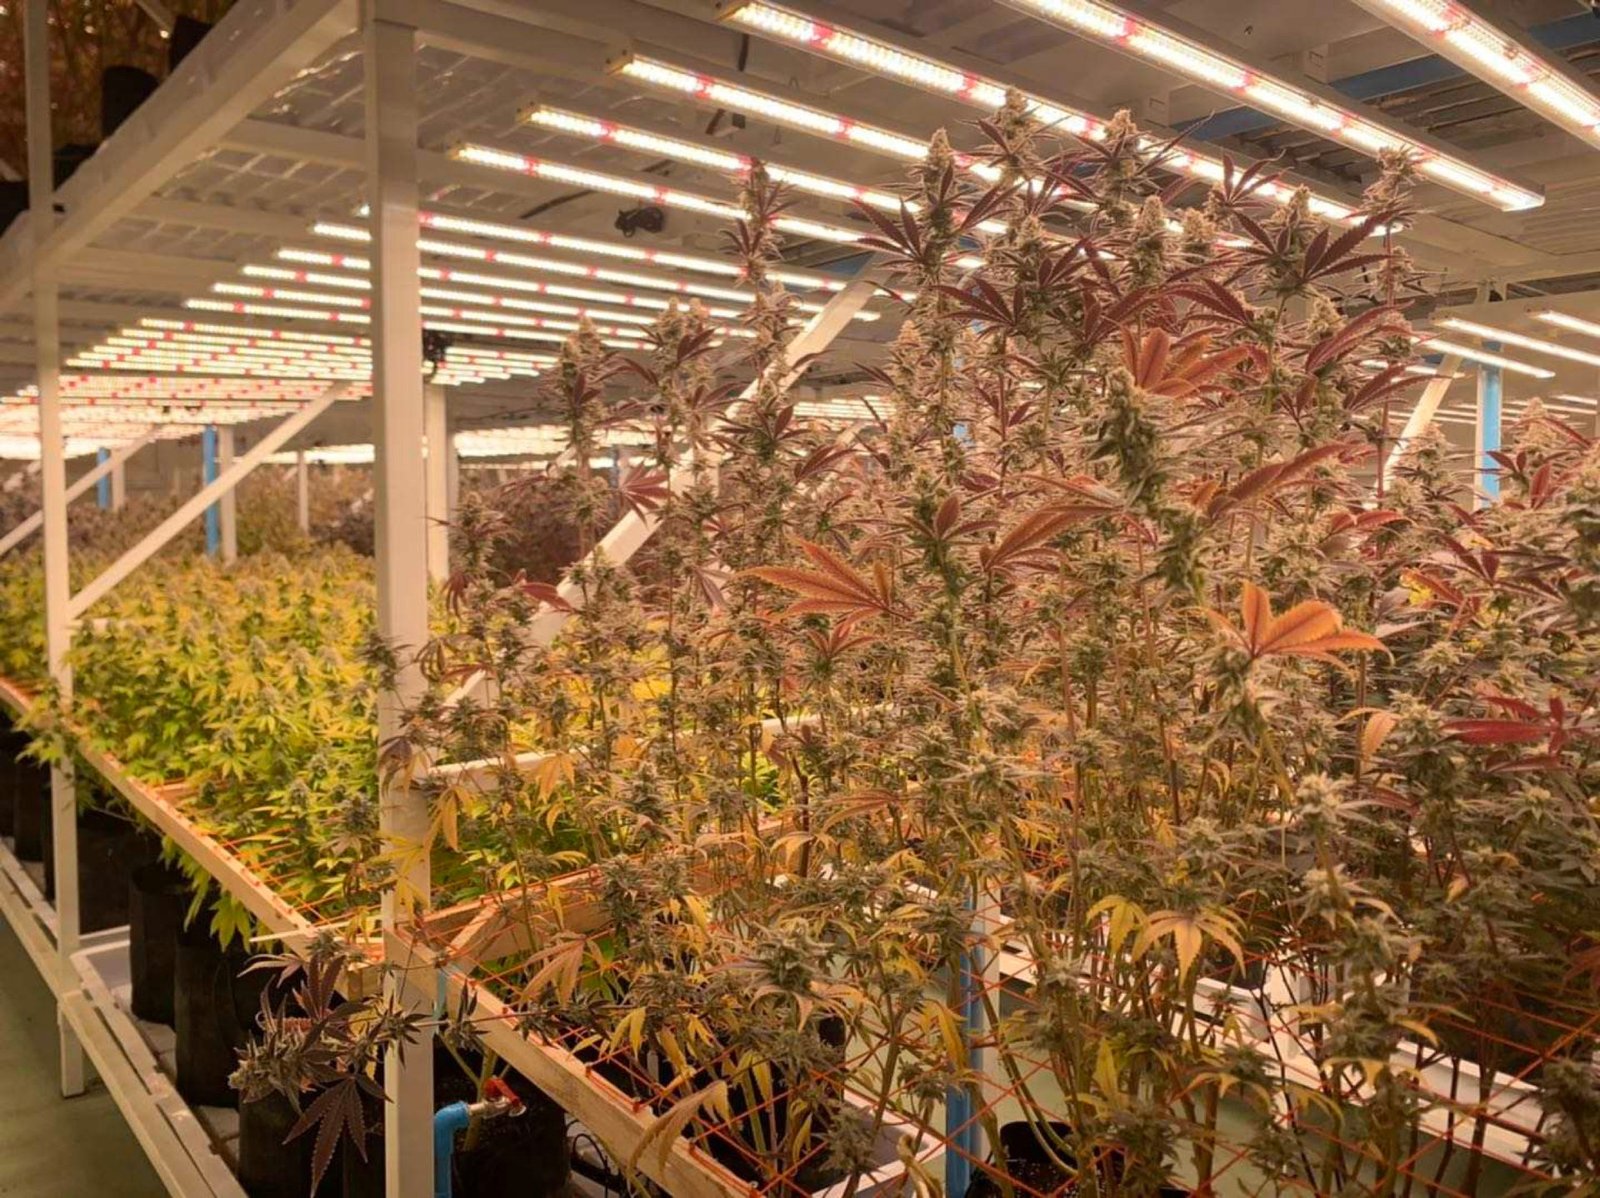
In a dense flowering room, the lower canopy is a different environment from the top, and yellowing there is often a light story rather than a nutrition story. Light does not travel through leaves. Each layer of foliage absorbs and reflects most of what reaches it, so photon flux falls steeply with depth. A 2025 peer-reviewed trial on medicinal cannabis grown at 12 plants per square meter under overhead lighting measured the gradient directly: PPFD roughly halved from the apical third to the middle third, then halved again from the middle to the basal third. The basal canopy was running on roughly a quarter of the light reaching the top.
Measured under overhead lighting only, at commercial density. The halving pattern is the reason a plant can be well fed and still fade from the bottom
A leaf that receives little light stops paying for itself. The plant responds by breaking down chlorophyll in that leaf and moving the nitrogen and other mobile nutrients to tissue that is still producing, which is exactly the process that produces the yellow. In other words, shade-driven yellowing is a planned reallocation, not a shortage. The plant is not failing to find nitrogen. It is deciding that the leaf is no longer worth the nitrogen it holds.
That distinction changes the treatment. Adding nitrogen to a shade-faded lower canopy raises the feed concentration and the salt load, does nothing about the light reaching those leaves, and can push the plant toward dark, clawing growth at the top. The measurement that settles it is a PAR reading at the height of the affected leaves, taken at several points across the bed. If the top of the canopy reads 800 to 1,000 µmol/m²/s while the yellow zone reads 150 to 250, the diagnosis is distribution, not nutrition.
Take that reading properly. Hold the sensor level at the height and angle of the leaves you are diagnosing, not at the floor and not at the fixture, because a reading taken under the canopy edge tells you nothing about what an interior leaf receives. Sample at least five points per bed, including the corners and the middle, and repeat at three heights: the top of the canopy, the middle, and the height of the lowest branches that still produce saleable flower. Write the numbers on the room layout. The pattern matters more than any single value: a bed that reads 900 in the center and 300 at the corners has a uniformity problem that no fixture schedule will fix by turning everything up.
Timing matters as well. Measure with the room in its normal operating state, with the same dim level, the same hanging height, and the same reflectors or curtains in place, because all three change the distribution. If the room runs a sunrise and sunset ramp, measure at the plateau rather than during the ramp. Repeating the same map after a layout change is the only reliable way to know whether a lighting adjustment did what the layout predicted.
The fixes are structural. Reduce plant density so fewer layers compete for the same photons. Defoliate the lowest third that will never reach harvest grade, which sends light deeper and improves airflow. Check that fixtures are spaced for uniform coverage rather than peak output in the center. Where the room has to keep its density, inter-canopy lighting puts photons inside the canopy instead of forcing them through the top layer. None of those fixes involve a nutrient bottle, and all of them address the cause that the leaf is actually reporting. For the target numbers at each stage, see PPFD and DLI targets for cannabis, and for the top-of-canopy version of this diagnosis, where bleaching and deficiency look alike, see light burn versus nutrient deficiency.
Look-Alikes: Pests, Viruses, and Water
Three other categories produce yellow foliage and get mistaken for nutrition because the color is similar and the timing is gradual. The difference is in the pattern at close range, which is why a loupe belongs in the same pocket as the pH meter.
Spider mites produce stippling: tiny pale dots scattered across the upper surface where the insects have emptied individual cells, with fine webbing on the undersides of leaves and around flower sites. The leaf yellows unevenly and takes on a speckled, dusty look rather than an even fade. Thrips leave silvery or bronze patches with small black frass dots, and heavy feeding distorts new growth. Both are confirmed by turning a leaf over and looking with magnification, and both get worse in dry, warm rooms with poor air movement. Fungus gnat larvae work in the substrate rather than the leaf, damaging fine roots, so the canopy symptom looks like overwatering or a root-zone problem: slow growth, lower-leaf yellowing, and adults flying around the media surface when the pot is disturbed.
Viruses are the category where yellowing is the least reliable signal. Hop latent viroid, the pathogen that has circulated widely in commercial cannabis, is associated with stunting, brittle stems, reduced vigor, and lower trichome density, but its leaf symptoms vary by cultivar and by stage. A plant that yellows from the bottom while everything else checks out, and that also shows flat or brittle stems and a loss of vigor, is a candidate for testing rather than for another feed adjustment. Diagnosis is by laboratory test, not by eye, and the response is sanitation and removal from the propagation stream rather than a nutrient change.
Water quality belongs here too, because it is invisible and it changes everything downstream. Sodium and boron in a source water can produce marginal burning and yellowing that looks like potassium shortage, while high bicarbonate raises substrate pH over the week as described above. If the source water reads above roughly 0.3 mS/cm before any nutrient is added, or if the room keeps drifting upward in pH despite correct tank adjustments, a water analysis is cheaper than another round of supplements. At normal municipal concentrations, chlorine and chloramine are not a credible cause of yellowing in a mineral-fed room, though chloramine can affect microbial products in organic systems.
When Yellow Is the Correct Color
Not every yellow leaf is a problem. In the last two to three weeks before harvest, cannabis breaks down chlorophyll in the older fan leaves and remobilizes the nitrogen and other mobile nutrients into the developing flowers. The leaves fade from the bottom up, stay turgid until they are nearly fully yellow, and the buds keep swelling. That is senescence, and it is the plant finishing its life cycle rather than failing to be fed.
The timing is the tell. A fade that begins in the final two to three weeks, moves slowly, and leaves the upper canopy green is normal. Yellowing that starts in week three or four of flower, spreads upward within days, or appears while the buds are still small is a real shortage or a root-zone problem. Trying to fix a normal fade with nitrogen is the more common error, and it costs quality: late nitrogen can delay ripening and push the plant back into vegetative growth instead of finishing.
| Signal | Normal late-flower fade | Problem yellowing |
|---|---|---|
| Timing | Final two to three weeks | Vegetative stage or early flower |
| Speed | Slow, a week or more per leaf | Fast, several leaves in days |
| Location | Oldest fan leaves, bottom up | Top first, or patchy across the plant |
| Leaf texture | Turgid until nearly fully yellow | Drooping, crisp edges, curled |
| Buds | Swelling, resin increasing | Stalled, small, or fox-tailing |
| Trichomes | Cloudy with some amber | Mostly clear well past the expected window |
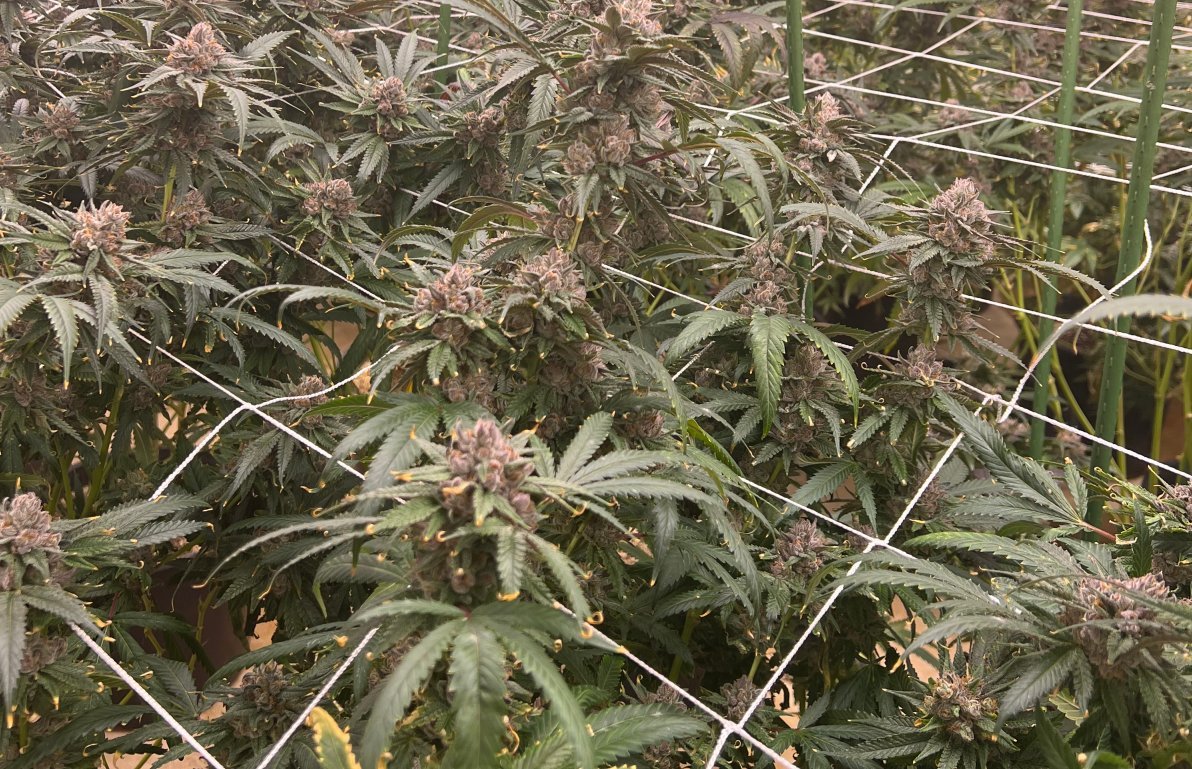
The practical rule for the last month is to judge the plant by the buds and the trichomes, not by the fan leaves. If the flowers are filling and the resin is ripening on schedule, a fading lower canopy is the plant working correctly. If the flowers have stalled while the leaves yellow, the fade is a symptom and the checks in the previous sections apply.
Fix Order: Measure, Correct, Then Feed
Almost every expensive mistake in yellow-leaf diagnosis comes from changing two things at once, or from feeding before measuring. The sequence below is deliberately boring, and it works because each step removes a whole category of causes before the next one is considered.
| Step | What you measure | Decision point | What you change |
|---|---|---|---|
| 1. Record the pattern | Which leaves, what pattern, how fast, with photos | Old or new growth, uniform or interveinal or marginal | Nothing yet. This narrows the list |
| 2. Root-zone chemistry | Runoff or slurry pH, runoff EC | pH outside 6.0 to 6.8 soil or 5.5 to 6.3 coco and hydro | pH first. Leach only if EC is high |
| 3. Root environment | Substrate temperature, moisture, root color | Below 18 °C, saturated media, brown roots | Warm the root zone, fix drainage and irrigation interval |
| 4. Light at that height | PPFD at the affected canopy layer, several points | Yellow zone far below the top reading | Density, defoliation, spacing, or inter-canopy light |
| 5. Nutrition | Feed strength against the stage target | Only after steps 2 to 4 come back normal | One adjustment, then wait 48 to 72 hours |
Judge the response by new growth. A yellow leaf that has already lost its chlorophyll does not turn green again in most cases, because the tissue has been dismantled. What you are watching for is the next set of leaves: if they emerge green and flat, the correction worked, even though the old damage remains. Photograph the same node every few days so the comparison is honest.
One change at a time is not caution for its own sake. If you raise nitrogen, adjust pH, and add a bloom booster in the same week, you cannot tell which one produced the result, and you cannot repeat it next cycle. In a multi-zone room, make the change in one zone and leave a control zone untouched. That single habit turns a diagnosis into a record you can use again.
What a Wrong Diagnosis Costs in a Commercial Room
In a home garden, a wrong guess costs a bottle and a week. In a commercial room, it costs a batch. The most common wrong guess is adding nitrogen to yellow lower leaves, and the mechanism of the loss is predictable: raising the feed strength raises EC, and a high EC makes calcium, magnesium, and potassium harder for the roots to take up. The lower leaves may stop fading for a few days while the new growth starts to claw, the substrate accumulates salts, and the plant reaches harvest a week later than the schedule assumed.
Yellowing also arrives by zone, not by room. A bed near a cold wall, a slab over an unheated floor, a row under a fixture that is running at a different dim level, and the shaded interior of a dense canopy can all show the same color for four different reasons. Mapping the symptom before acting is what prevents a room-wide correction for a zone-level problem. Walk the room with a PAR meter and a substrate temperature probe, and mark the yellow zones on the layout rather than describing them from memory.
The record that pays for itself is small: per zone, per week, log pH, EC, substrate temperature, and PPFD at two heights, canopy top and the height of the lowest productive branches. Four numbers, one line per zone. When yellowing appears, the log usually shows which number moved first, and that is the difference between a correction and an experiment. It also gives the next cycle a baseline, which is the only way to know whether a change actually helped.
Give the crew a short rule so the first response is consistent across shifts. Yellow at the bottom of the plant: check shade, root temperature, and whether the media is still wet before anyone touches the feed. Yellow at the top: check root-zone pH first, then look for bleaching under the fixture. Yellow in patches across a bed: check the irrigation line and the fixture above that patch, because both produce local patterns. The person who sees the plant first is usually not the person who reads the meters, so the rule has to fit on one card and end in a measurement rather than a bottle.
For buyers specifying lighting, the same logic applies before the room is built. A fixture datasheet that quotes a single center-point PPFD says little about what the lower canopy will receive. Ask for a PPFD map at more than one height, and for the spacing that produces uniform coverage across the bed rather than a bright center. The cost of a light gradient is paid every cycle in yellow lower leaves, popcorn bud, and extra hand-trimming labor, long after the fixture invoice is settled.
FAQ
Are yellow cannabis leaves always a sign of nutrient deficiency?
No. In a dense canopy, the most common cause of yellowing in the lower third is a lack of light reaching those leaves, and in the final two to three weeks it is normal senescence. A genuine deficiency is confirmed by location, pattern, and a root-zone measurement, not by color alone. Mixed symptoms on both old and new growth point to pH or the root zone rather than to several missing nutrients.
Should I remove yellow leaves from my marijuana plant?
Remove a leaf once it is fully yellow, crisp, or dead, because it is no longer photosynthesizing and it can trap humidity against a bud. Leave a leaf that is still partly green, since it is still exporting mobile nutrients to the growing tips and the flowers. If the yellowing is spreading fast, fix the cause first; removing leaves does not correct a pH, root, or light problem.
Why are my top leaves yellow while the bottom leaves stay green?
That pattern points to an immobile element or to a problem that hits new growth first. Iron and manganese produce interveinal yellowing at the top, and both are usually availability problems caused by high root-zone pH rather than a missing bottle. Calcium and boron show at the growing tips with distortion. Too much light can also bleach the top of the canopy, but bleaching is patchy and tracks the fixture rather than following a nutrient pattern.
Why are the bottom leaves yellow while the top stays green?
Three causes cover most of it: a mobile nutrient shortage, a root-zone problem, or shade. Nitrogen and magnesium both fade the oldest leaves first, with nitrogen going uniform and magnesium staying between the veins. Waterlogged or cold roots produce the same lower-leaf yellowing because uptake stalls even when the feed is correct. In a closed canopy, the bottom leaves may simply be receiving a fraction of the light the top receives.
Can too much light turn cannabis leaves yellow?
Yes, but the pattern is different. Excess light bleaches the tissue closest to the fixture, usually the top of the canopy directly under a fixture, and it can look bronze or washed out rather than evenly yellow. It follows the light map, not the nutrient mobility rules. The practical test is to compare PPFD and leaf position: bleaching clusters under high readings, while deficiency follows a plant pattern.
Does flushing cause yellow leaves?
Yes, and that is expected. Withholding nutrients in the final week or two forces the plant to draw on stored nitrogen, which accelerates the fade. What flushing does not do is improve the flower; controlled trials have not shown a quality gain from a fixed flush window, as covered in the autoflower flush evidence. Treat yellowing during a flush as a planned consequence, and judge harvest timing by trichomes rather than by leaf color.
How long does it take for yellow leaves to recover?
New growth usually shows the answer within seven to fourteen days of correcting the cause. Leaves that have already turned fully yellow rarely turn green again, because the chlorophyll and the proteins around it have been broken down. Watch the next two nodes rather than the damaged leaves, and photograph them so the comparison is not based on memory.
Does Epsom salt fix yellow leaves?
Only when the pattern is magnesium deficiency on older leaves and the feed or water is genuinely low in magnesium. Epsom salt adds magnesium and sulfur, and it also adds to the electrical conductivity of the solution. Used on a pH lockout or a shade-faded canopy, it raises the salt load without addressing the cause. Confirm the interveinal pattern and the root-zone reading before adding it.