Setting up a grow space around cannabis grow lights is a sequence, not a shopping list. The fixture you buy matters, but the yields a room actually delivers are decided by four setup decisions that come after the purchase: how many fixtures the canopy gets, how high they hang, how evenly the light spreads, and how the rest of the room (air, walls, darkness, schedules) supports what the fixtures deliver. Get those four right and a mid-range fixture outperforms a premium one mounted badly. Get them wrong and no fixture on the market rescues the room. This guide walks the setup in the order a commercial room should be planned: room first, layout second, height third, uniformity fourth, then the environment and controls that hold those numbers in place across every cycle. Every number here assumes a licensed indoor facility and top-light LED fixtures; check your local regulations before building.
The room sets the ceiling on what a lighting plan can deliver, which is why a setup guide starts with tape and a clipboard rather than a catalog. Three measurements decide everything downstream: canopy area, ceiling height, and electrical capacity. Canopy area is not floor area; it is the area under light at flowering height, and aisles subtract from it. A 6 by 8 meter room with 0.8 meter aisles carries roughly 38 square meters of productive canopy, not 48. Rooms that are planned around floor area routinely order one row too few and discover the gap as thin corners in week 4 of flower.
Ceiling height decides how much room the fixture has to breathe. Add the expected plant height at harvest to the fixture-to-canopy gap your fixture needs, then add hardware and airflow clearance above the fixture. A room with 3 meter ceilings, 1.5 meter plants, and a 0.4 meter mounting gap leaves roughly a meter of working space, which is workable. A 2.4 meter ceiling with the same plants forces the fixture close to the canopy or the plants short, and both choices cost yield somewhere else. Power is the third gate: count amps per circuit, confirm three-phase capacity where relevant, and place driver outlets so no fixture shares a circuit with a dehumidifier that kicks on at lights-off.
Fixture count is a coverage question before it is a wattage question, and the arithmetic is simpler than most rooms make it. Each fixture model publishes a coverage footprint at a given mounting height from its PPFD map. Divide canopy area by that footprint and you have the base count; then add 10 to 20 percent overlap between adjacent footprints, because uniform light in a commercial room comes from overlapping spreads, not from fixtures butted edge to edge. A room planned from footprint alone shows bright centers and dim seams exactly between fixtures, and those seams are where the thin flower grows.
The faster cross-check is the wattage-per-area rule of thumb: most modern LED top lights deliver flower-grade intensity at roughly 30 to 40 watts per square foot of canopy (about 320 to 430 W/m²). A 5 by 5 foot tent lands near 150 to 250 watts of actual fixture draw; a 40 square meter flower room lands near 13 to 17 kilowatts. Treat the wattage check as a sanity range, not the plan; the plan comes from the fixture's measured footprint at your mounting height. Our fixture-count walkthrough covers the row-and-column arithmetic in detail, including how aisles and bench edges change the count: how many fixtures does my room need.
Light intensity falls with the square of distance, so hanging height is the strongest single dial in the room. Double the gap and each square meter receives roughly a quarter of the photon flux; halve it and you multiply intensity and hot spots together. This is why a fixture that scorches canopy tops at 25 centimeters sits comfortably at 45, and why the fix for excess intensity is dimming first, raising second. Raising the fixture to fix intensity also widens the footprint, which sounds like a bonus until the edges of the room collect light meant for the center.
Practical ranges for full-spectrum LED bars in a commercial room: seedlings and fresh clones sit under 30 to 50 percent dimmed output with the fixture 60 to 90 centimeters up; established veg runs 45 to 60 centimeters at half to full output; flowering holds 35 to 50 centimeters for most 640 to 720 watt bars, or whatever distance the manufacturer's PPFD map marks as the uniform footprint. Bar-style fixtures tolerate closer mounting than puck-style boards because their diodes spread the flux. 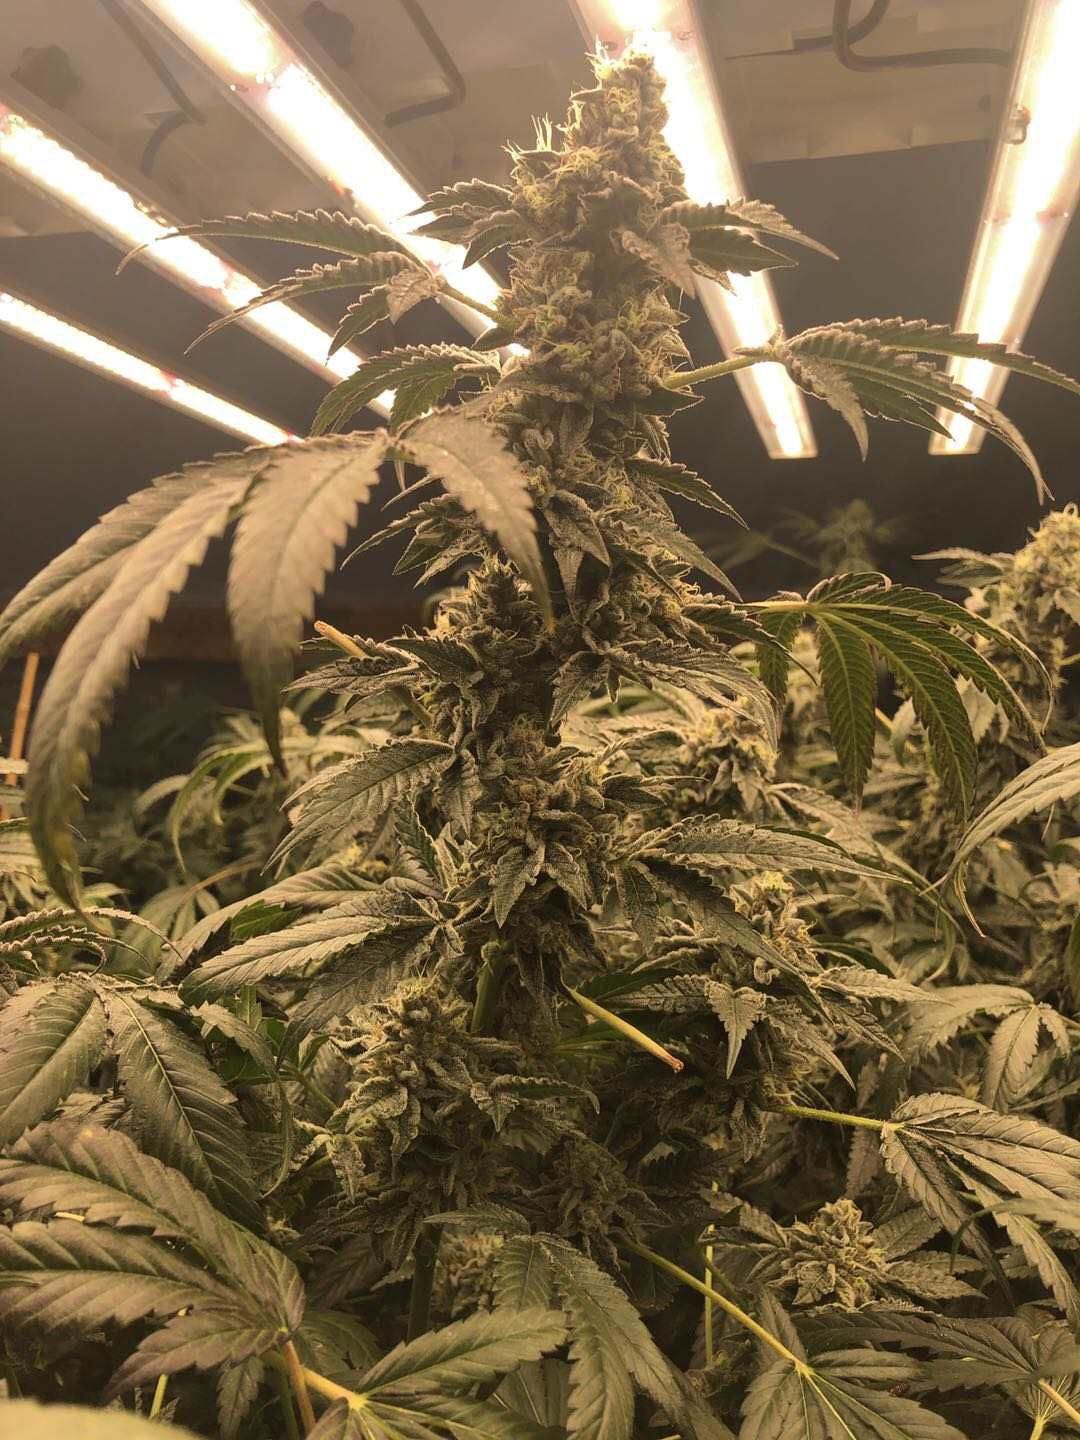
Average PPFD flatters a bad layout. Two rooms can both average 900 µmol/m²/s while one ships uniform flower and the other ships a bell curve, and the difference is uniformity: how tightly the readings cluster across the canopy. Commercial rooms should aim for canopy readings within roughly ±15 percent of the mean, with the corners of each fixture's footprint overlapping the neighbor's center. In minimum-to-average terms, that target works out near 0.85, comfortably above the 0.75 redesign floor set by the ASABE S640 horticultural lighting standard. Uniformity is what turns fixture wattage into sellable flower in every square meter rather than only under the fixtures.
The measurement pass is cheap and settles most layout arguments. With the fixtures hung at final height and dimmed to the flowering setpoint, meter the canopy on a 1 by 1 meter grid, four readings per square (center and three offsets), and log the numbers. If any point sits more than 25 to 30 percent below the mean, that seam needs overlap or an added bar, not more output from the fixtures above it. If the centers run more than 20 percent hot, dim and spread. The PPFD and DLI targets by stage that these readings feed into are collected in our target tables: PPFD & DLI targets for cannabis.
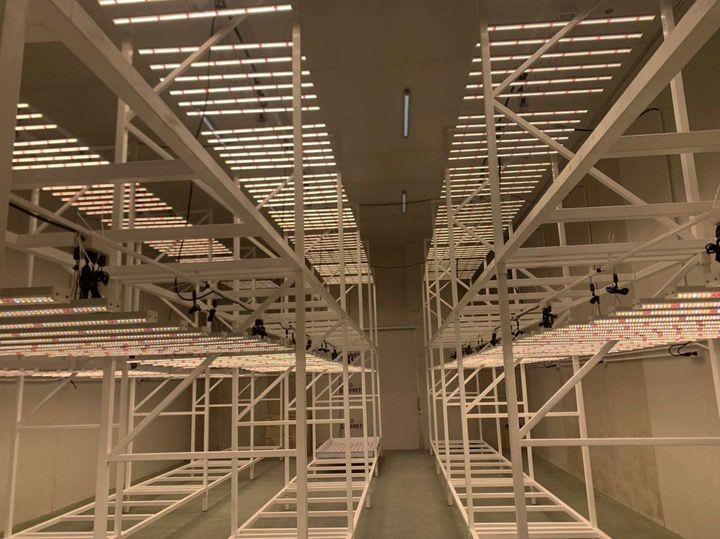
Row geometry does the uniformity work that dimming cannot. Bars throw a rectangular footprint, so rows run parallel to the long axis of the canopy, fixtures end-to-end along the row with 10 to 20 percent footprint overlap, and row centers spaced so each row's half-width reaches the neighbor's half-width at canopy level. Perimeter rows sit close enough to walls to hold the edge, with the wall side accepting some loss unless the wall is reflective. Where the plan puts a fixture over an aisle on paper, shift the row instead of accepting a dead strip; aisles lit at flowering intensity are watts spent on floor.
Two room geometries cover nearly every case. In rooms narrower than two fixture footprints wide, single rows with wall-side reflection work and the math stays simple. In wider rooms, multi-row layouts with staggered ends beat aligned grids wherever benches break the rectangle, because staggering fills the corner gaps that aligned rows leave. Whatever the geometry, keep fixture centers off direct positions above walkways and keep every fixture reachable from an aisle for maintenance; a fixture that needs a ladder choreography to clean does not get cleaned.
Reflection matters most at the edges of the canopy, where bare walls otherwise absorb the photons that could have become flower. A flat white wall returns a useful share of incident light back toward the canopy edge; dedicated films return somewhat more and degrade faster. What reflection cannot do is replace coverage: light bounced off a wall 2 meters away arrives diffuse and weak, so reflection is a finishing layer for perimeter rows, never a substitute for a fixture. In narrow rooms with reflective walls, the outermost fixture row can legitimately pull inward, which is where reflection earns its cost.
Choose surfaces by lifespan and cleaning, not by reflectance percentage on a datasheet. Flat white paint renews cheaply each cycle and takes scrubbing; films deliver high initial reflectance but crease, harbor film algae in humid rooms, and get removed by harvest traffic. Whatever the surface, keep the bottom half of the wall, the strip the canopy actually sees, clean; a dusty lower meter is the difference between a reflector and a wall.
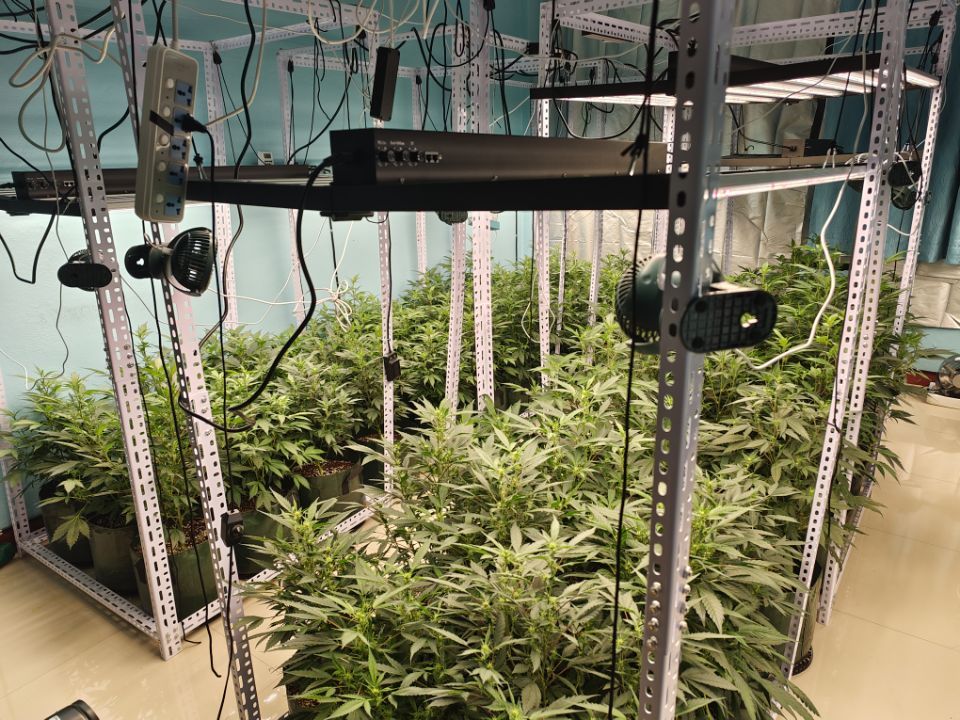
LED fixtures put most of their heat at the driver and the heatsink face, which means the thermal job of airflow is to keep that heat off the canopy and out of the room. Under-canopy fans and horizontal circulation fans should sweep leaf surfaces without blasting them, and the extraction system should move enough air to hold the room's temperature setpoint at full fixture load. The sizing check happens with the fixtures at full flowering output on the warmest day the room will operate, not on a cool morning: a room that holds setpoint in March and drifts 3 degrees hot in July needs extraction sized for July.
Airflow also feeds the fixture itself. Drivers rated for the room's ambient still age faster in stagnant ceiling pockets, so plan supply and extraction paths that move air across the ceiling, not just through the canopy. Where fixtures hang close to the ceiling, a destratification fan or supply diffuser aimed along the ceiling keeps the pocket from forming. Rooms that ignore ceiling airflow watch their fixture ratings and their warranties quietly age out early: signs your cannabis plants are light starved covers the canopy-side symptoms when airflow and height both slip.
Lighting and environment are one system, and the setup order matters: set the environmental targets first, then verify the lighting plan can hold them. Cannabis flower rooms typically hold 24 to 27 °C lights-on with a drop of a few degrees at night, and relative humidity stepped down from the mid-60s in late veg to the low 40s by late flower. What the fixtures change is the load behind those targets: every watt a fixture draws ends up as heat the HVAC must remove, roughly 3.4 BTU per watt-hour, so the lighting plan is written into the cooling budget line by line.
The interaction that matters most at setup time is vapor pressure deficit, because PPFD drives transpiration and transpiration drives the humidity the dehumidifiers fight. A room that raises intensity without rechecking VPD will chase humidity setpoints all cycle. Lock the VPD band by stage, then verify the lighting plan against it: VPD targets and control for cannabis and the day-night temperature targets in ideal temperatures for growing cannabis give the paired numbers.
| Room | Canopy | Typical fixture draw | What changes the count |
|---|---|---|---|
| 5 x 5 ft tent | 25 sq ft | 150 to 250 W | One bar-style fixture with a wide footprint can cover it alone |
| 1.2 x 2.4 m bench | 2.9 m2 | 320 to 430 W/m2 rule | Reflection on the long wall lets the row pull inward |
| 6 x 8 m room, 0.8 m aisles | About 38 m2 | 13 to 17 kW combined | Aisle width and bench breaks move row ends more than row centers |
| 10 x 20 m multi-row | About 180 m2 | 60 to 80 kW combined | Staggered ends beat aligned grids wherever benches break the rectangle |
Photoperiod flower rooms convert light into yield on a schedule, and they convert leaks into hermaphrodites on the same schedule. A broken dark period does not dim the lights' work; it destabilizes the plants, and seedy, airy flower in a room with strong PPFD numbers is usually a darkness problem, not a light problem. Setup makes this a one-time task: seal penetrations, kill or shield every indicator LED on drivers and controllers, and give the door an light-trap so the nightly walk does not flood the room.
The verification pass is worth an hour with the lights off at full night: stand in the dark for ten minutes with the air handlers running and find every glow that appears. Fixtures and drivers that emit light while nominally off belong on the warranty list, not the tape list. The full audit, including the green-light nuance and why human-visible brightness is the wrong test, is in our dark period guide: light leaks and how dark is dark enough.
A lighting plan that depends on someone flipping switches is a plan with a countdown to human error. Controllers fix three things at once: the schedule holds the photoperiod without drift, the ramps step intensity up and down instead of stepping the room from darkness to full output, and the zones let veg and flower share a controller without sharing a setpoint. Modern fixtures support 0 to 10 volt or PWM control, and wiring them to a controller at setup time costs an afternoon that pays back every single cycle.
Set ramps at 30 to 60 minutes on each side of the photoperiod. Sudden full-intensity steps stress plants measurably less than they stress people, but the ramp also softens the HVAC's load spike at lights-on, which keeps temperature and humidity from swinging at exactly the hour the room is most sensitive. Ramping is not the only switch-on discipline worth wiring in. Each driver pulls a brief inrush surge as its capacitors charge, and a row of fixtures closing contactors on the same instant can trip a breaker at lights-on even though the load ran fine all day yesterday; the surge lasts microseconds, so it never shows up in a steady-state amp count. Staggered relay start, where the controller closes its contactor groups a few seconds apart, removes that failure without touching the schedule. Schedules should live in one place with one owner per room; two overlapping schedules is the most common controller fault we see in the field. The controller features that matter for commercial rooms are compared in our grow light controller guide.
CO₂ enrichment only pays when the lighting plan already saturates the canopy, because extra carbon dioxide is an appetite and light is the meal. Rooms running 900 to 1,100 µmol/m²/s at the canopy with tight VPD control are the candidates; rooms below that range are buying CO₂ for the exhaust fan to remove. The setup sequence is therefore: uniformity and intensity first, sealed envelope second, CO₂ third. Injection targets, sensor placement, and the interaction with photoperiod are covered in our CO₂ and PPFD matching guide.
Where under-canopy lighting enters the plan, it follows the same rule as CO₂: it fills a deficit the top light proved first. Dense canopies that meter below target in the lower third are the candidates, and the under-canopy layer slots between the rows at low power to lift those readings, which is a coverage decision made with a meter, not a catalog: under-canopy lighting.
Every item below is checkable in a day, in order, before the first pot is filled. Rooms that run the list at setup re-run it after every fixture move, driver swap, or canopy redesign, because each of those silently invalidates the numbers the last pass produced.
| Check | How to verify | Pass condition |
|---|---|---|
| Canopy measured | Flowering-height footprint minus aisles, in writing | Number matches the fixture plan, not the floor area |
| Fixture count and layout | Footprints divided with 10 to 20% overlap marked | No planned dead strip over canopy or aisle |
| Mounting height | Fixture hung at the height its PPFD map assumes | Height recorded next to the map in the room log |
| Uniformity grid | 1 x 1 m grid, four readings per square, at flowering output | Readings within about plus or minus 15% of the mean |
| Dark period audit | Ten minutes in full dark with air handlers running | No visible glow from drivers, indicators or the door |
| Controller and ramps | One schedule owner, 30 to 60 minute ramps wired | Veg and flower zones hold separate setpoints without drift |
| Environment under load | HVAC holds targets with fixtures at full flowering output | 24 to 27 C lights-on, humidity stepping down by stage |
The same six mistakes account for most underperforming rooms we see, and none of them are fixture problems. They are order-of-operations problems: a step skipped, a number assumed instead of metered, or a room planned around floor area instead of canopy. Each fix below costs hours; the mistake it prevents costs a cycle.
| Mistake | What it costs | The correct move |
|---|---|---|
| Planning around floor area | One row too few, thin corners in week 4 | Measure canopy at flowering height and subtract aisles first |
| Butting fixtures edge to edge | Bright centers, dark seams between fixtures | Overlap footprints 10 to 20% and meter the grid |
| Fixing intensity by height alone | Wide footprints light the walls, canopy runs uneven | Dim first, raise second; re-verify after any change |
| Trusting average PPFD | A bell curve of flower quality under one average | Aim for plus or minus 15% uniformity across the canopy |
| Skipping the night audit | Leaks destabilize plants into airy, seedy flower | Find every glow in the dark, fix drivers not tape |
| Layering CO2 before uniformity | Enrichment exhausts away at PPFD the canopy cannot use | Uniformity and envelope first, CO2 third |
Set up a grow space to deliver the yields the fixtures promise by running the sequence in order: measure the canopy and the ceiling, plan fixture count from footprints with overlap, hang at the height the PPFD map assumes, meter the grid and fix the seams with geometry, seal the dark period, wire the controller, and only then layer CO₂ or under-canopy bars where the meter proves a deficit. The fixture is the constant; the setup is the variable that decides what it ships. Rooms that treat setup as a checklist with numbers attached find that the same fixtures deliver a different room every cycle, and the difference is always in this sequence.
Divide canopy area by the fixture's published coverage footprint at your mounting height, then add 10 to 20 percent overlap between adjacent fixtures. Cross-check against roughly 30 to 40 watts per square foot of canopy for flower-grade LED intensity. The footprint method decides; the wattage check only verifies.
For full-spectrum LED bars, established veg runs 45 to 60 centimeters above the canopy and flowering holds 35 to 50 centimeters for most 640 to 720 watt fixtures, with seedlings higher under dimmed output. The authoritative number is the distance your fixture's PPFD map was modeled for, and intensity problems are fixed by dimming first, raising second.
Veg rooms commonly run 18 hours on and 6 off, and photoperiod flower rooms run 12 and 12, with autoflower rooms on 18 and 6 throughout. Whichever schedule a room runs, it holds without drift: controllers with hardware timing beat wall timers, and the flower room's dark period must stay unbroken.
Reflection helps most at the canopy edges, where bare walls absorb light the fixtures already paid for, so flat white walls are worth doing in any room. Reflection does not replace coverage; bounced light from meters away arrives weak and diffuse, so treat it as a finishing layer for perimeter rows, not a fixture substitute.
Aim for canopy readings within roughly ±15 percent of the room mean, with corners overlapping neighboring fixture footprints. Meter the canopy on a grid at final height and flowering output; points more than 25 to 30 percent below the mean need fixture overlap or an added bar, not more output from the fixtures above them.
You can, but the room meters as one system, so plan the mixed layout so footprints overlap and the grid meters even. Mixing is most useful where benches differ, such as stronger bars over the tall rows and lighter bars over nursery sections. Verify with the grid pass rather than trusting either datasheet alone.
Effectively all of the fixture draw becomes heat the HVAC removes, at roughly 3.4 BTU per watt-hour, so a 15 kilowatt flower room writes about 51,000 BTU/h of cooling load into the plan before any other equipment. Size extraction and cooling for full fixture output on the warmest operating day.
Yes. Fresh clones and seedlings take 150 to 300 µmol/m²/s, which most fixtures deliver at 30 to 50 percent output with the fixture higher than the flowering gap. Full output over young plants stalls them and invites the bleaching and curling that gets misread as nutrient trouble.
Movers trade intensity for coverage and suit single-fixture hobby rooms more than commercial rows, because they add moving parts, height demands, and a sweeping hot spot that complicates uniformity. A commercial room achieves the same coverage statically with correct overlap and never services a motor to do it.
The full checklist: canopy measured, fixture count and layout planned with overlap, fixtures hung at map height, the PPFD grid metered and seams corrected, darkness verified with a night audit, controller wired with ramps and one schedule owner, and environmental targets confirmed against the fixture heat load. Plant after the list, not before it.
No. Yield follows usable photons delivered evenly to a healthy canopy, and above the crop's saturation the extra watts become heat the room pays to remove. The gains at setup come from uniformity, height, and environment holding the intensity you already bought, not from adding intensity the canopy cannot use.
Re-meter the grid after any fixture move, driver change, or canopy redesign, and re-run the dark period audit each cycle or after electrical work. Between those events, a monthly spot check of a few grid points catches drift from dust, replaced fixtures, or schedules that changed without a note.
Send the room dimensions, canopy area and target PPFD. We answer with a fixture layout and mounting plan built from measured footprints, the uniformity numbers to meter against, and the controller setup that holds the schedule without drift.
